
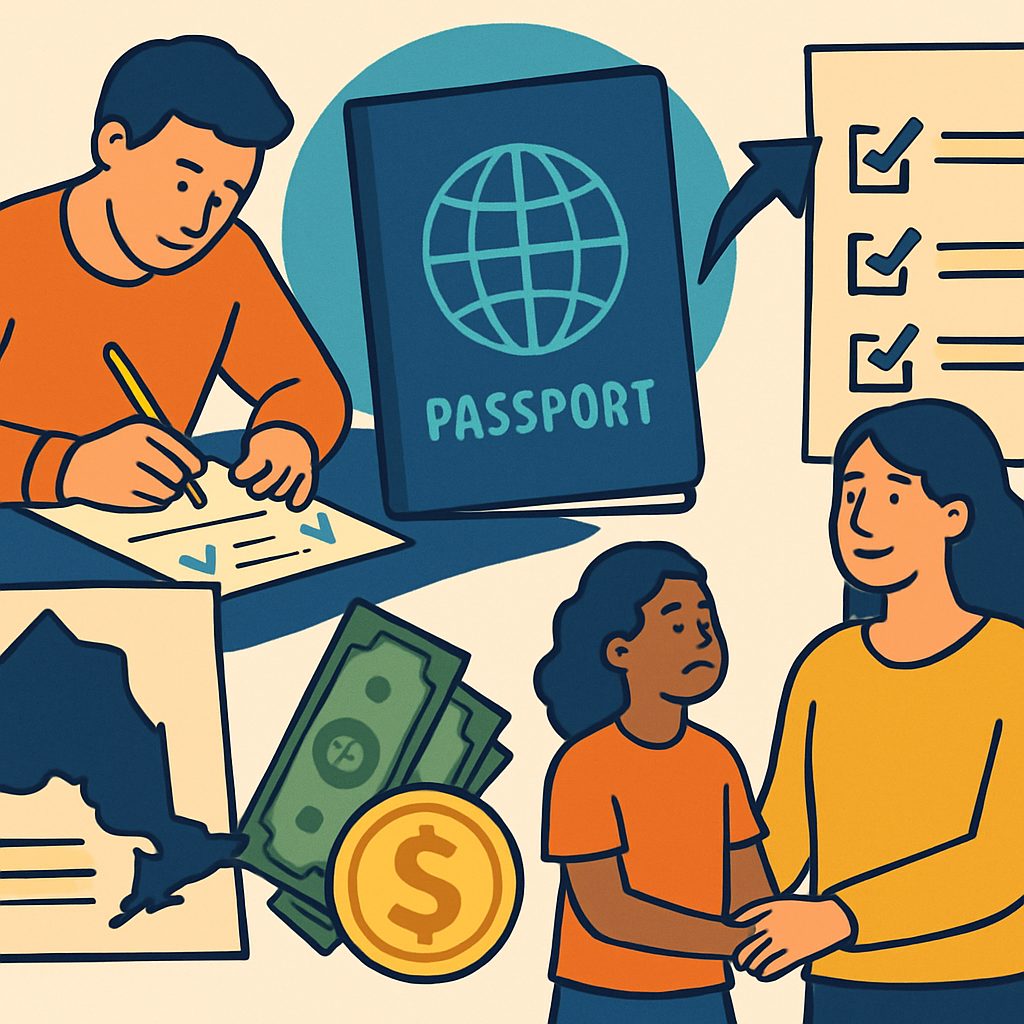
How to Apply for Passport Funding in Ontario: A Step-by-Step Guide for Families
Applying for Passport funding to cover home supports can feel like a maze; this guide gives families in Ontario a clear, step-by-step pathway. Read on to learn exactly what documents to gather, how to contact your local DSO, fund management options, timelines and common pitfalls – plus practical examples for using passport funding ontario home care for respite, PSW support, or community access.
1. What Passport funding covers and how it can support home care
Straight answer: Passport funding in Ontario is intended for individualized supports that increase community participation and independence — and that does include a range of in-home supports when those supports directly enable community access, respite, or skill development. It is not a general health-care or long-term-care benefit; that matters in how families plan services.
Common home care uses funded through Passport
- Respite care: short-term PSW or companion support so primary caregivers can rest or work
- Personal support worker assistance: help with bathing, transfers, mobility and community outings when the goal is participation rather than clinical nursing
- Community access supports delivered at home: skill-building, activity planning, and transport arrangements that originate from the home
- Short-term post-surgery or recovery supports: non-medical monitoring, mobility assistance and light housekeeping while community reintegration is the goal
- Palliative companionship and comfort supports: when the focus is quality of life and community-based supports
- Training and supports for independence: coaching, behaviour supports, and life-skills work that happens in-home
Key limitation to plan for: Passport rarely covers services that are primarily medical or already funded elsewhere (for example, hospital discharge nursing covered by provincial home care programs). Families should separate medical care needs from community participation needs before allocating Passport dollars; mixing them risks audit questions and funding refusals.
Operational trade-off: Using Passport dollars for in-home PSW hours is simple and highly practical, but it reduces flexibility for paying for community activities or training. If your family needs consistent daily personal care and also wants community outings, consider splitting supports (some paid through other home care programs, some through Passport) or choosing an agency-managed model to avoid administrative overload.
Concrete example: A family plans 8 hours per week of PSW support focused on community access (two 4-hour blocks for transportation, accompaniment and skills coaching). That schedule preserves caregiver respite and funds regular weekly outings. The same Passport allocation would cover fewer formal medical visits, so if the person needs wound care or RN-level monitoring after surgery the family would arrange that through provincial home care or private nursing, not Passport.
What families often misunderstand: Many assume Passport can replace all in-home care costs. In practice, regional Developmental Services Ontario offices evaluate whether a proposed support directly furthers participation or independence. Be ready to explain the participation outcome, not just list tasks; that framing changes approvals.

Next consideration: When you decide to pursue Passport funding for home care, start every request by stating the community participation outcome and list the in-home tasks that enable it. That approach shortens reviews and keeps supports defensible under program rules.
2. Eligibility checklist and documentation families must prepare
Straight to the point: you will not get far with Passport funding without clear proof of Ontario residency, valid ID, and credible clinical documentation that a developmental disability and attendant support needs exist. DSOs are strict about evidence; vague notes or informal reports are the most common and easiest causes of delay.
- Primary ID and residency: Ontario health card (OHIP) and one government photo ID; a recent utility bill or lease as proof of residence if the OHIP address is different
- Proof of diagnosis: a clinical letter or assessment that states a developmental disability diagnosis and summarizes functional support needs
- Support needs summary or service plan: recent individualized service plan, behaviour support plan, occupational therapy or physiotherapy reports describing day-to-day assistance required
- Guardianship / decision-maker paperwork: court orders, Power of Attorney for personal care, or signed consent forms if someone else applies on behalf of the adult
- Contact and emergency information: primary caregiver, alternate contacts, and any current community agency caseworker details
- Optional but useful: school records showing developmental delays, previous DS agency assessments, hospital discharge summaries when supports are for short-term post-surgery needs
Acceptable clinical documentation and who can provide it
Who counts: letters or assessments from developmental pediatricians, psychiatrists, psychologists, registered occupational therapists, registered nurses within developmental services, or recognized community agencies are all accepted in many regions. Family physician letters can be accepted, but they must be specific about diagnosis and functional supports — generic statements will be returned.
Format matters: a dated letter on official letterhead that names the clinician, lists the diagnosis, notes when it was made, and describes current support needs speeds processing. If the diagnosis is historical (childhood), include a current functional assessment or summary so the DSO can see ongoing needs.
Practical trade-off: the more concrete and recent the functional examples in the documentation (what the person cannot do and the exact supports they need), the fewer follow-up requests you will get. Getting those details from clinicians takes time and sometimes fees — but it is faster than repeated clarification requests from DSO and months of delay.
How to ask a clinician: use a short, specific request. Sample sentence to include in your email: Please provide a dated letter on practice letterhead stating the diagnosis of developmental disability, date of assessment, a brief summary of current functional support needs (mobility, communication, behaviour, ADLs), and whether supports are ongoing; this is for a Passport funding application to Developmental Services Ontario. Offer to include the DSO fax or email and a consent form to release records.
Limitation to plan for: regional DSOs differ on what they accept. Expect at least one follow-up request for clarification; do not assume a single document will be final. If you are missing a specialist letter, prepare a current functional assessment from an allied professional as a stopgap.
Concrete example: A family applied with a psychiatrist letter that named an intellectual disability but included no functional details. DSO returned the file asking for examples of daily support needs; the family then obtained a one-page occupational therapist summary describing transfers, community supervision needs, and toileting support. That one-page assessment cleared the hold and the application moved forward in three weeks.
Get two documents in order first: a clear clinical letter that ties diagnosis to current functional needs, and guardianship/consent paperwork if someone else is applying. Those two items remove more application friction than nearly anything else.
3. Step-by-step Passport application process for Ontario families
Treat the application like a short project: assign a family point person, book calendar reminders, and expect to follow up. The process is predictable in stages but variable in timing across regions, so active management shortens delays.
Five operational steps and what to do at each one
- Step 1 — Find and contact your local DSO. Use Developmental Services Ontario to locate the correct office. When you call or email, give a short summary of status (age, primary diagnosis, current supports needed) and ask for an intake reference number.
- Step 2 — Intake and initial screening. Expect the intake worker to confirm identity, residency, and whether evidence of developmental disability is already on file. If you can supply a clearly dated clinical letter at this stage it speeds things; if not, ask whether provisional intake will proceed while you obtain documents.
- Step 3 — Assessment and support planning. A case coordinator will schedule an assessment (phone or in-person). Bring concrete examples of daily support needs and recent functionality notes — these are what the assessor converts into the individualized support plan that justifies Passport dollars.
- Step 4 — Funding decision and conditional approval. Decisions often arrive as conditional approvals requiring service descriptions, budget allocations, and signatures. Read the conditions closely — many delays happen because families miss a single required signature or budget line item.
- Step 5 — Accept offer and operationalize supports. Choose family-managed or agency-managed, sign service agreements, set up payroll or vendor onboarding, and book first shifts. Put start dates on the calendar tied to invoicing cycles so you know when the first payment will be reconciled.
Practical trade-off: submitting a clear, clinician-signed diagnosis letter up front delays application by the time it takes to get the letter but usually shortens total time to funding. Rushing with weak documentation can cause repeated requests and add weeks.
Concrete example: A family needs 8 hours/week of PSW support for community participation. They contact their DSO, complete intake within 10 days, schedule an assessment at week 3, receive a conditional Passport allocation at week 8, and sign an agency-managed contract by week 10. The provider starts services in week 11 — roughly a three-month timeline from first call to in-home supports.
What usually stalls applications: missing guardian documentation, unsigned consent, and vague support plans. In practice, the single fastest action families can take is to deliver a one-page support needs summary and a dated clinical letter to the DSO case file immediately after intake.
Do not be passive: if you do not hear back in 14 business days, email the intake worker with the intake reference and request a status. Case numbers matter — use them when you follow up.
4. Fund management options and operational responsibilities
Directly choosing how funds are managed is the single decision that changes daily work for families. The three common models are family-managed, agency-managed, and broker/third-party managed — each has different administrative, legal, and operational consequences you will own once funding begins.
Management models and what you actually do
- Family-managed: You recruit and hire workers, run payroll, remit source deductions to CRA, manage scheduling, keep timesheets, prepare T4s, and report to your DSO. High control, high administrative burden.
- Agency-managed: A licensed provider handles hiring, payroll, training, WSIB, liability insurance, and invoicing. Lower family admin but less direct control over staffing and sometimes slower responsiveness.
- Broker/third-party managed: A specialist handles back-office tasks while you direct day-to-day supports. Middle ground with added fees and dependency on the broker for compliance.
Key trade-off: choose control or administration.** Families who pick family-managed often underestimate time and compliance risk. If you want exact scheduling control or wish to pay a trusted caregiver who is a family member, family-managed gives that possibility — but it requires payroll competence and strict adherence to CRA and WSIB rules.
Operational responsibilities that trip people up. These are realistic tasks you will need to do under family-managed: set up a CRA payroll account and remit CPP, EI, and income tax; register for Ontario Employer Health Tax if payroll exceeds the threshold; determine WSIB obligations; maintain criminal record checks and training logs; keep detailed timesheets and invoices for DSO audits; and carry appropriate liability or umbrella insurance.
Concrete example: Anne receives a Passport allocation and opts for family-managed to hire a personal support worker for 10 hours per week. She set up a CRA payroll account, began source-deducting CPP and EI, kept digital timesheets that both she and the worker signed, and provided monthly invoices back to her DSO. After three months she realized the bookkeeping and remittances were taking four hours a week and switched to an agency-managed model to reduce admin.
- Family-managed checklist: create a CRA payroll account, set up payroll software or service, confirm WSIB status, obtain criminal background checks and references, draft a written service agreement, implement signed timesheets, and retain records for CRA/DSO review.
- If choosing agency-managed: confirm the provider will accept Passport funds, ask for sample service agreements, confirm invoicing cadence, verify staff credentials (RN, RPN, PSW) and confirm incident reporting procedures.
- If using a broker: get fee and service-level details in writing and ask how they handle emergencies and replacements.
Where to learn the specifics and reduce risk. Confirm payroll and WSIB rules with the CRA and WSIB directly, and check allowable uses with your local DSO. For practical templates and sample service agreements see Cedar Home Health Care resources such as What a Home Health Agency Does. Also review Passport funding for program rules.

Next consideration: pick the management model that matches your available time, payroll competence, and tolerance for paperwork — then document processes immediately so funding and care are stable from month one.
5. How families can use Passport funding with a home care provider like Cedar Home Health Care
Direct use with an agency is common. Families frequently route Passport funding to licensed home care providers because agencies handle payroll, training, WSIB and consistent rostering—tasks that overwhelm most households.
Which Cedar services fit Passport funding
- Personal support worker (PSW) hours for bathing, transfers and community access
- Respite and companionship to give family caregivers scheduled relief
- Short-term post-surgery monitoring and medication reminders to support safe discharge
- Palliative comfort care and symptom checks where community supports are part of the plan
- Skills coaching for community participation (e.g., outings, public transit practice)
- Light household assistance tied directly to community participation goals (limited and task-specific)
Key consideration: Passport funds only cover services specified in the Individual Support Plan (ISP). If a requested Cedar service isn’t written into the ISP or approved by your DSO, the expense may be rejected during audits.
Operational steps to set up an agency contract with Cedar
- Request an assessment: Ask Cedar for a needs assessment and a written service proposal you can attach to your ISP. Use this in conversations with your DSO.
- Put supports in the ISP: Work with your DSO assessor to list the exact Cedar services, hours per week, and measurable goals so funding lines match invoices.
- Sign a service agreement: The agreement should state hourly rates, cancellation policy, timesheet rules, and how overtime is handled.
- Timesheets and invoicing: Cedar provides signed timesheets and monthly invoices formatted to typical Passport reporting requirements; confirm the invoice layout with your DSO in advance.
- Reporting and reviews: Schedule quarterly reviews. Cedar can prepare expenditure summaries that match Passport categories for your DSO reporting or audit.
Practical trade-off: Using an agency reduces your administrative load but increases unit cost compared with hiring privately. In practice, families trading control for reliability find the extra cost worthwhile when consistent, trained staff are essential to safety and community outings.
Concrete example: An adult client needs community access and respite: the ISP lists 12 hours/week of PSW support. Cedar schedules three 4-hour weekend shifts for community outings and evening respite; monthly invoices show 48 hours billed under the Passport funding line and include signed timesheets for each shift. This alignment prevents back-and-forth with DSO and speeds payment.
Judgment that matters: DSOs differ in what supporting documentation they accept. In my experience, providers that proactively supply ISP-linked service descriptions, coded invoices, and client-signed timesheets cut approval and audit friction by more than half. Ask Cedar ahead of time to match your DSO templates — it saves weeks.
Next consideration: Before finalizing a contract, verify whether any Cedar service requires pre-approval from your local DSO and confirm how quickly Cedar can provide supporting letters or assessment notes for your Passport application — timing here controls whether services start on week one or month three.
6. Common pitfalls that delay funding and how to avoid them
Key point: Most delays are administrative and preventable. Missing or vague clinical evidence, unsigned consent or guardian paperwork, and invoicing mismatches are the usual culprits — fix those first and you cut weeks or months from the timeline.
Top applicant-side pitfalls and exact fixes
- Incomplete diagnosis evidence: Submitting a one-line note from a family doctor is not the same as a functional assessment. Remedy – request a short clinical letter that states diagnosis, date of diagnosis, and specific functional impacts on daily living. Use dated clinician contact details and attach any prior community agency assessments.
- Missing legal paperwork: Not naming the legal guardian or substitute decision maker stops consent processes. Remedy – include a copy of the guardianship or power of attorney document and a signed consent page. Scan both sides of IDs and upload together to avoid back-and-forth.
- Unsigned consent or application pages: A single missing signature can pause an entire file. Remedy – create a final checklist before submission that lists every required signature and the date; use tracked email or recorded delivery when sending originals.
- Budget mismatches and vague service descriptions: Generic phrases like community supports do not translate into payable activities. Remedy – attach a short service schedule: task, frequency, estimated hours, and intended provider type (for example, personal support worker for bathing, 3 x 1 hour/week).
Practical insight: Fast follow up matters, but constant chasing without new documents harms progress. Instead of daily calls, send one concise email every 7 to 10 days asking for status, what is missing, and a projected date. Request written confirmation of next steps so you can escalate if the timeline slips.
Concrete example: A family submitted a basic referral and waited two months with no movement. The file stalled because the clinician letter lacked functional detail and the guardianship certificate was missing. After the family provided a clinician letter that described specific support needs and uploaded the guardianship page, the regional DSO completed assessment and offered funding within three weeks.
Provider and billing pitfalls to watch for
- Unclear invoices: Vague line items invite questions and holdbacks. Ask providers for timesheets that link to invoice lines and include staff credentials (RN RPN PSW) and dates.
- Assuming family-managed administration is simple: Families underestimate Employer Health Tax, payroll withholding, and WSIB exposure. Trade-off – family-managed gives control but adds real administrative work; consider agency-managed if you need relief.
- Hiring without verification: Do not hire a worker before confirming provider insurance, business registration, and references. Vet staff credentials and ask for proof of training.
If you want a checklist for vetting agencies and standard invoice templates, see the operational guidance in our section on working with home care providers and the practical roles of staff at Cedar: What a Home Health Agency Does.
Highlight: The single fastest correction is submitting a clinician letter that explains functional limitations and a guardian document on the same day you file the application.
7. Practical next steps, checklist, and sample communications
Start two things at once. While you gather clinical documentation, open intake with your local Developmental Services Ontario office so you do not lose time waiting for a single thread to finish. Early intake notes a timestamp that matters later if you need appeal or escalation.
Quick 10-item application checklist (use in this order)
- Find your DSO contact: locate and save the local DSO phone and email via DSO Ontario and the provincial Passport page Passport funding.
- Completed intake email: send a short intake email (sample below) with applicant name, DOB, address, and attachments.
- Proof of ID and OHIP: scan health card and government photo ID.
- Diagnosis letter: request a dated clinical letter that states developmental disability, who provided it, and current functional needs.
- Support needs summary: 1–2 page plain-language description of day-to-day supports and goals.
- Guardianship or POA docs: if applicable, include legal paperwork naming decision-maker.
- Consent and signatures: sign any DSO consent forms and return scanned copies promptly.
- Funding preference note: state family-managed or agency-managed and whether you want a Cedar assessment.
- Follow-up log: record date, name of staff, and promised next step for every contact.
- Backup contact: include a second phone/email for urgent messages.
Practical trade-off: submitting a concise cover sheet with the most critical documents speeds processing more than sending a large, mixed packet. DSO workers prefer a 1-page summary on top of attachments that points to the diagnosis letter and support needs page.
Sample email to start DSO intake
Subject: Passport intake request – [Applicant Name], DOB YYYY-MM-DD, City/Region
To: intake@[your-local-dso].ca
Body: Hello, I am contacting you to begin Passport funding intake for Applicant Name (DOB). Attached: OHIP copy, photo ID, diagnosis letter, support needs summary, and guardian document. Preferred contact: Parent Name, phone, email. Preferred fund model: agency-managed (or family-managed). Please confirm next steps and estimated timeline. Thank you.
Sample request to a provider (Cedar Home Health Care) for assessment and paperwork help: Email Cedar to request a needs assessment, ask explicitly if they will prepare a support plan and invoice templates compatible with Passport reporting, and confirm typical turnaround (usually 7–14 calendar days for assessment and draft service agreement). See What a Home Health Agency Does for what to expect.
Concrete example: A family in Mississauga opened DSO intake on a Monday and attached a one-page summary plus the diagnosis letter. They requested agency-managed funds and a Cedar assessment. DSO logged intake the same week, Cedar completed assessment in 10 days, and funds were approved and first invoice accepted within 9 weeks total.
If you need speed, mark your intake email Subject with Priority: intake + applicant city — DSO routing staff are blunt but practical; a clear subject line reduces misrouting.
Final judgment: families who treat the first two weeks as administrative setup — intake opened, one-page summary sent, and provider assessment scheduled — move through the system significantly faster. The limiting factor after that is regional caseload, not paperwork. Plan follow-ups weekly and always request a written timeline from DSO.